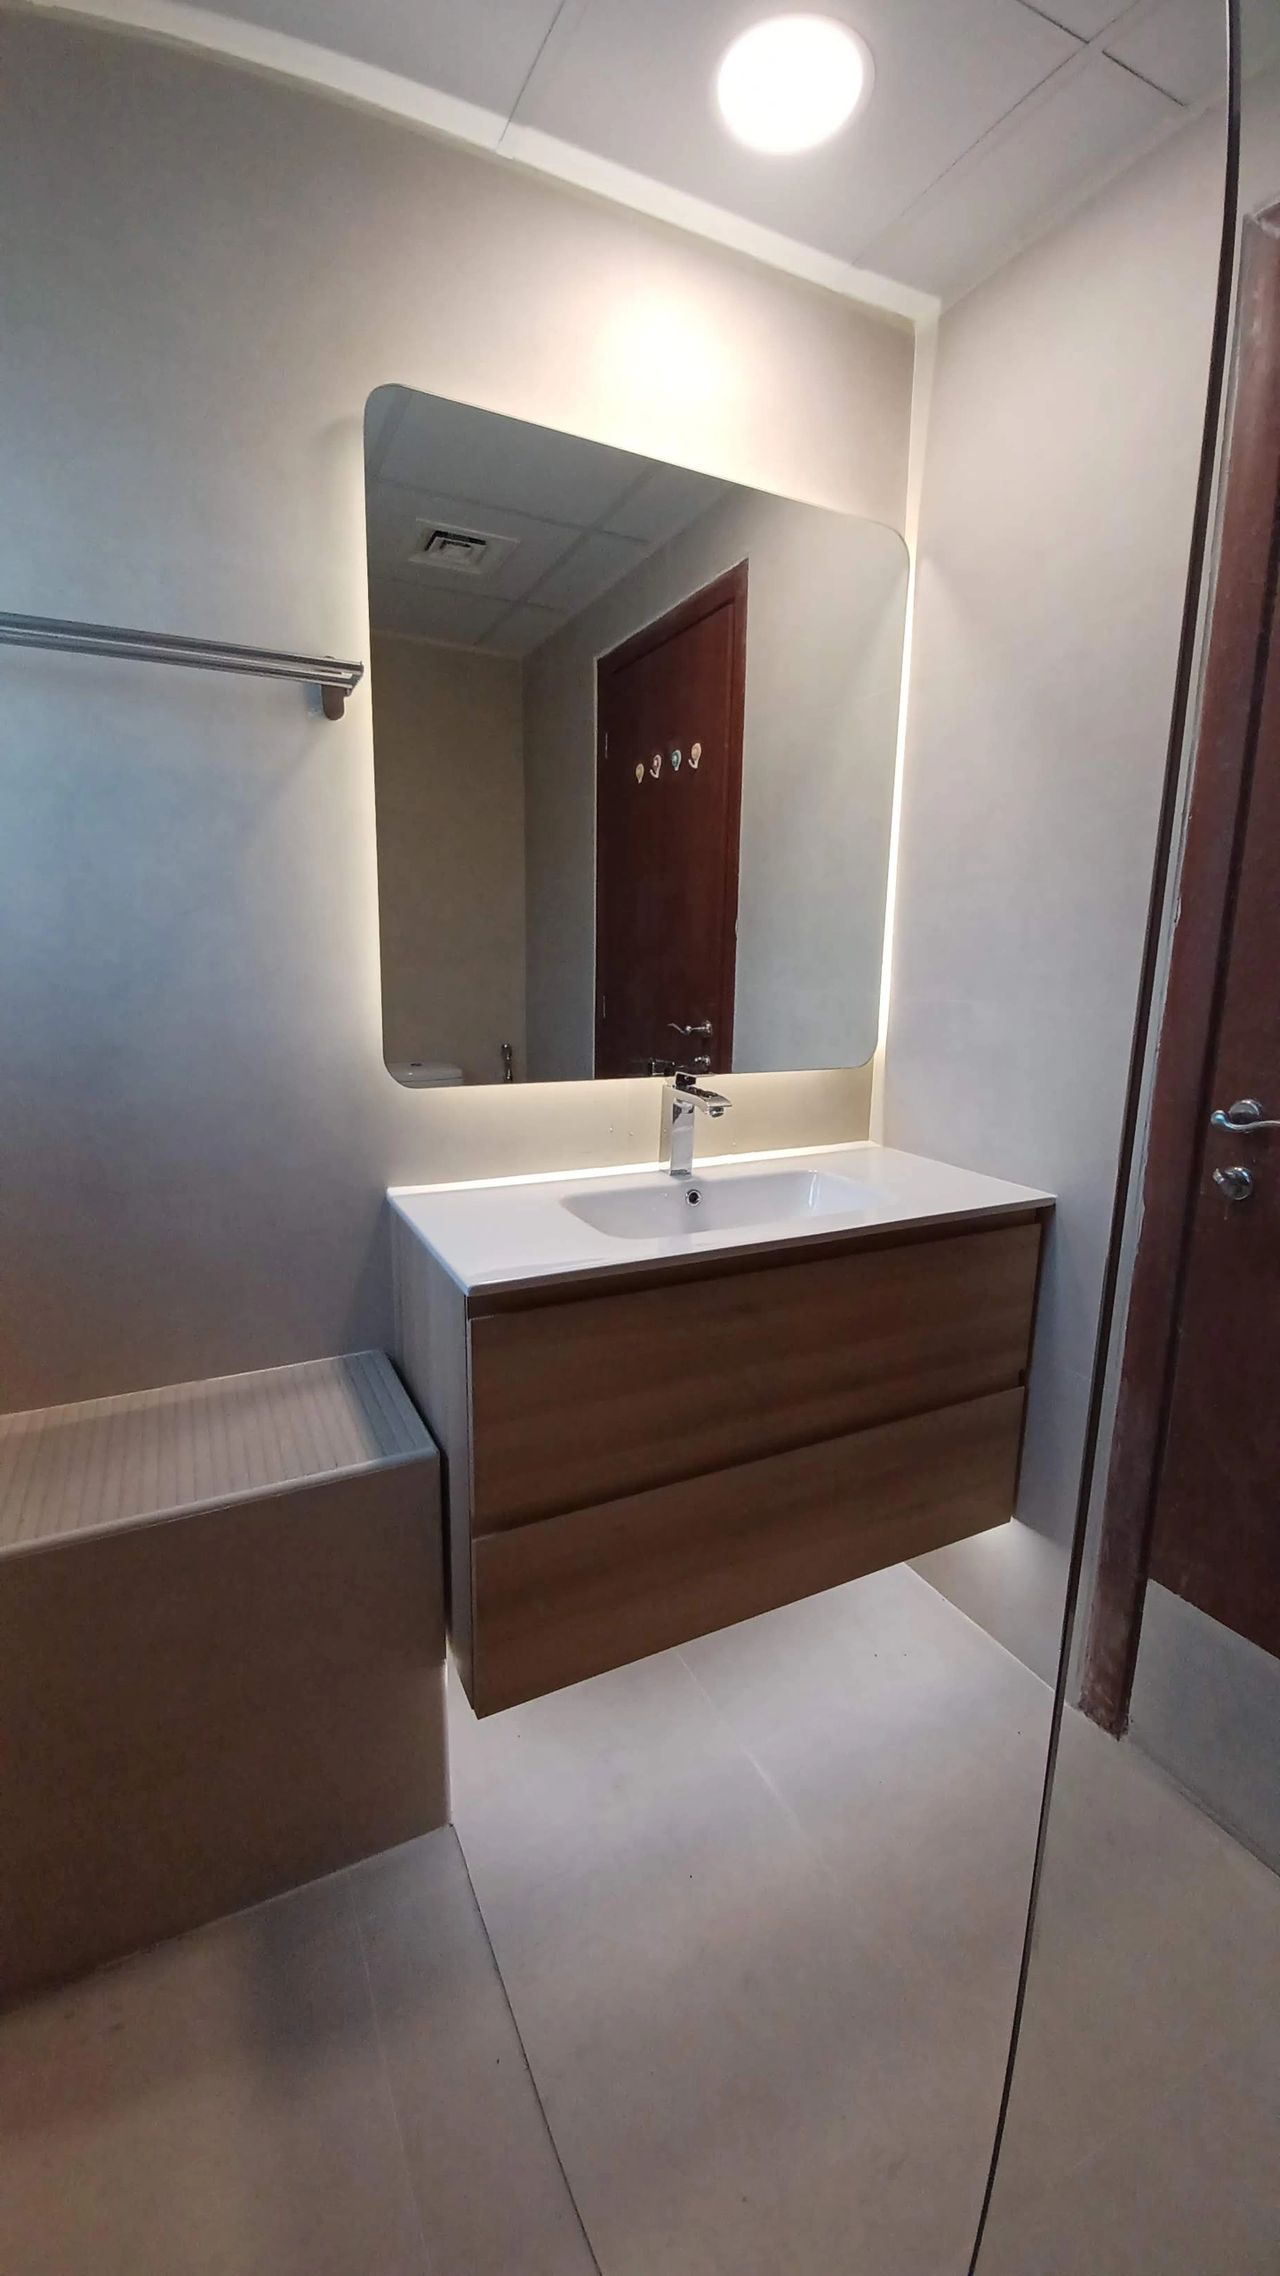
Bathroom and shower Renovation in Dubai. For this project, we were tasked with bathroom renovation in the Business bay district of Dubai. As per the client’s request, the toilet and the wooden door were to remain intact, with the door scheduled to be replaced later. The scope included replacing the existing wall and floor tiles and installing a new sink that integrated seamlessly with the countertop of the sink cabinet. This decision was made based on the client’s previous challenges with detached sinks caused by silicone glue failure or extra pressure on the sink.

To start the shower renovation, we began with the removal and demolition of the bathtub. Upon its removal, we uncovered significant water and debris accumulation beneath the tub, which posed a long-term risk of leakage to the floor below. Next, we stripped the wall and floor tiles down to the concrete slab. We ensured the floor was smooth and free from sharp edges, addressing any uneven corners to achieve a seamless transition. Afterward, the area was left to dry for a day before proceeding to the next phase.
When it comes to waterproofing bathrooms in Dubai, two of the most commonly used methods are Elastomeric Waterproofing Coating and Cementitious Waterproofing. Elastomeric waterproofing involves the application of a flexible, liquid-applied membrane that forms a seamless barrier over the surface. It is highly elastic, allowing it to accommodate structural movements and cracks, making it ideal for bathroom floors and walls where water exposure is continuous. On the other hand, cementitious waterproofing is a rigid, cement-based solution often used for concrete surfaces. It provides a durable and cost-effective option for areas like shower floors and walls. While it is less flexible than elastomeric coatings, it is excellent for areas with minimal movement. Both methods are critical in ensuring that bathrooms are protected from water seepage and structural damage, extending the longevity of the space while maintaining a clean and safe environment.
In this project we used AquaSheld Pro SBR 70. SBR (Styrene Butadiene Rubber) latex has emerged as a versatile material for waterproofing due to its exceptional properties, including excellent adhesion, flexibility, durability, and water resistance.
AquaSheld Pro SBR 70 is a ready to use, SBR based, quick drying, liquid applied, and elastomeric waterproof membrane for internal and external applications. It is a one component, solvent free, light blue, and synthetic resin. The cured membrane provides a breathable and waterproof elastomeric barrier with crack bridging properties. It is used for bathrooms and kitchens, balconies and terraces, laundry rooms, saunas and damp environment in general.
We applied two layers of waterproofing membrane, this process took two days to complete. In the shower area, waterproofing was extended up to 2 meters high, while the rest of the bathroom walls received up to 30 cm of waterproofing. The waterproofing was then tested by flooding the area and allowing it to stand for two days, carefully inspecting the floor below for any signs of leakage.
Once the waterproofing was verified, we moved on to the screed works, which is to protect the waterproofing from damages and ensuring accurate slopes directing water flow toward the drains. The bathroom was designed with two separate drains, one for the shower area and the other for the rest of the bathroom and it was divided by a shower glass partition. Proper slope calculations were critical to ensure efficient drainage.
After the screed dried, we began tiling. We selected porcelain tiles which have higher durability and moisture resistance. Before completing the wall tiles, all electrical provisions were installed. Also while doing the tiles, it was important to fix the floor and wall railing for the shower glass. After tiling and grouting, we installed the shower glass, bathroom cabinet, and sink, followed by the mirror.

The mirror featured a cove light connected to the main bathroom ceiling light, ensuring both illuminate simultaneously. We considered adding a separate switch for the mirror light, however, it would have resulted in two switches for the mirror, which was less practical.
One Response